
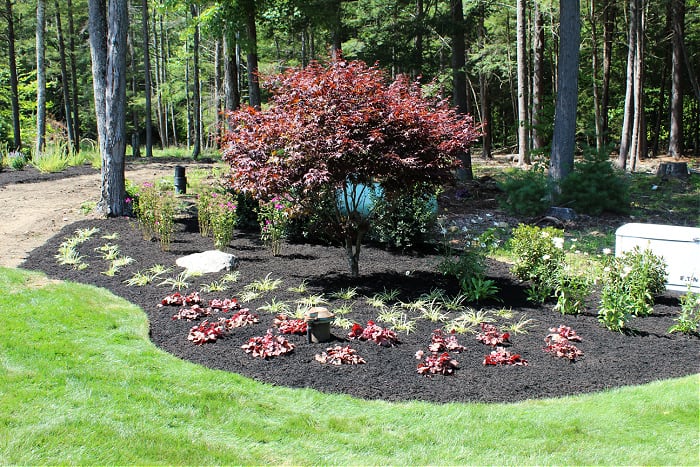
Follow this step by step tutorial to learn how to Install Mulch like a pro.
Benefits of Mulch
There’s so many benefits to adding mulch to your landscape. Different types of mulch provide different benefits, but here are some of the most common benefits:
- Retains Moisture
- Suppresses Weeds
- Visual Impact
- Helps Define Areas
1. Choose Mulch Type
Mulch can be made up of a variety of materials such as bark, wood chips, pine straw, or inorganic material such as rubber. Generally speaking, shredded bark mulch is the most beneficial to a landscape bed with plants, but use this guide to help choose the mulch type that’s best for you.
2. Figure How Much Mulch You Need
Mulch is sold by the cubic yard which can be a little confusing to some homeowners. But don’t be intimidated, the math is actually very easy. Follow these steps to figure out how much mulch you need.
- First, calculate the square footage of the area you’re looking to mulch. Length (times) Width is all I pretty much use. Even if the area is circle or curved, don’t get too crazy looking up geometry formulas. Breaking sections down into squares and rectangles is going to get you close enough. Let’s look at the diagram below of a mulch bed along my house…
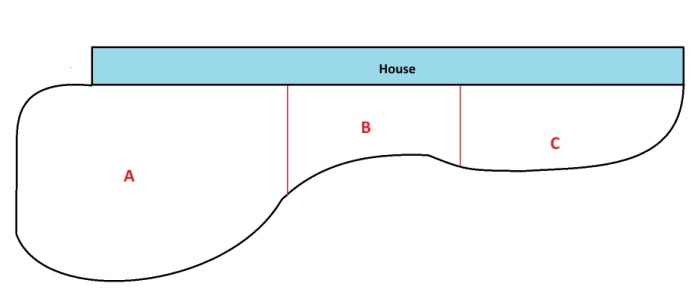
- After breaking this garden bed down into 3 geometric sections, I figured that the total square footage when adding Sections A, B, and C together is 280 square feet.
- Next, determine how many inches thick you want to lay your mulch. Generally, for new beds I recommend 3-4”. For freshening up beds that have already been mulched in the past I recommend 1-2”. For example purposes, lets say this is a new bed and I want to add 3” of mulch.
- Next it’s time to do some math. Divide the number of inches in thickness by 12”. So in this example it’s 3”/12” which equals .25”
- Next multiply the square footage (280s/f) by the .25” which gives you a total of 70 s/f of mulch.
- But, don’t forget mulch is by the cubic yard, not by the square foot. So we need to go one step further to convert 70 s/f of mulch into cubic yards. To do that, simply divide by 27. So in this case 70 s/f divided by 27 equals 2.59 Cubic Yards
- The calculation comes out to 2.59 cubic yards of mulch. Round up or down to the nearest yard. If you have a decent amount of plants taking up space in the bed then definitely round down. If the bed is fairly open then round up. This is where you need to use your intuition and why I tell people not to be too scientific about it. You have to make judgement calls based on how much actual surface area you have in your beds that are not covered by plants. In general, use math as a baseline and make adjustments from there.
If you’re struggling with some of the math check out the mulch calculator here.
3. Edge Bed

If creating a new bed, layout a hose to get the shape of the edge. For straight lines, use string. If the bed is already established then spend some time redefining the edge. Follow this step by step tutorial on how to get professional looking edges. Edges are very important and often make the difference between a professional looking landscape bed from one that is done by your average homeowner.
4. Weed, Clean, Plant
After you’ve established your edge, take the time to pick weeds, and rake debris in the landscape bed before mulching. Also, now is a good time to add plants if you’re planning on doing so whether its trees and shrubs, or just some seasonal annuals.
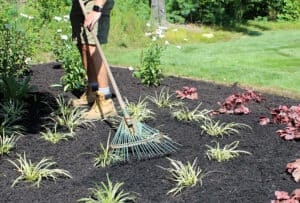
5. Grade Rake
Use a metal garden rake to get a nice smooth grade, knocking down any mounding dirt and filling in any divots throughout the bed.
6. Dump Mulch In Small Piles
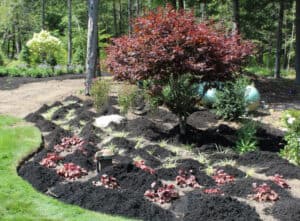
If using a wheelbarrow to move mulch, use a Pitchfork to load the mulch into the wheelbarrow. A pitchfork is so much easier for moving mulch than a shovel since it can easily dig into the mulch pile. When dumping the mulch into the landscape bed, dump several small piles close together. This will be easier to spread than fewer larger piles. If installing bagged mulch it’s the same concept. Pour small piles everywhere.
Be careful when installing mulch around small plants and ground covers. If the area is tight, don’t dump piles. Instead use a pitchfork or your hands to sprinkle mulch around the small plants.
7. Spread Mulch
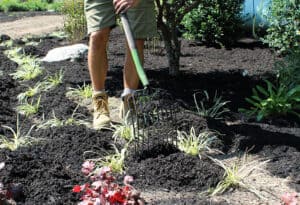
Once you have a bunch of small piles of mulch throughout your landscape bed, it’s time to spread the mulch. For larger, more open areas, use a garden rake. For tighter areas use a pitchfork which will give you more control. In very tight areas where there are small plants use your hands. Be careful not to have mulch resting up against the base of plants since this can cause damage. Also, make sure you keep your edge clean. You want mulch to sit below the top of your edge so you keep the edge defined and prevent mulch from washing out.
8. Make Smooth
After the initial spreading of the mulch, I like to go back around and use the back side of a small leaf rake to fine grade the mulch and make it as smooth as possible. This is an important step since a smooth, even finish gives you a professional look.
9. Water Area
Mulch is hot when it comes from a pile. This can temporarily shock plants. After installation be sure to water the entire area to cool down the mulch and prevent shock.
FAQ
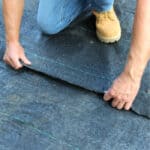
1. Should I use Landscape fabric?
This is a bit of a controversial topic, but personally I don’t recommend using landscape fabric underneath mulch. In the long run it can do more harm than good. Check out more on this topic and when I do recommend using landscape fabric here.
2. How to keep mulch in place?
If you’re concerned about mulch washing out or eroding consider using Mulch Glue. This helps keep mulch in place and also helps reduce weeds.
3. Can I put mulch right over grass?
I would not recommend trying to smother weeds by putting mulch directly over them. You’d be surprised at how many weeds can grow through even a thick layer of mulch.
Check Out These Posts Next


Follow Me
Join my free email list!
Leave a Reply