
Follow these tips to learn how to plant a shrub so it can quickly get established, and thrive in your landscape.
Planting shrubs is actually very easy but there are some things you can do when planting that will help get the shrub established more quickly. A healthy shrub puts on new growth, retains a healthy color, and can defend itself against disease, drought, and extreme weather. This post will teach you how to plant a shrub so you can get the most out of your investment. These tips work for both evergreen and deciduous shrubs.
Look Before You Buy Plants
Plant tags are your friend! When you’re at the nursery do your homework and read what you’re buying. Most plants will have a tag, or a plant stand with an info card that tells you important information about the plant. Some important info to look for is:
-Planting Zone– Make sure you know what hardiness zone you belong too. You want to buy plants that are hardy to your zone, since this will give them the best chance of survival. If you’re in zone 5 for example, make sure you don’t buy a plant that is for zones 6 and above.
-Sunlight Requirements– Make sure you know how much sunlight is in the area you are looking to plant and then check the sunlight requirements of what you are purchasing. As a general guide follow these definitions:
- Dense Shade: No direct sunlight
- Shade: 3 hours or less of sun
- Part Shade: 3-6 hours of sun but sunlight needs to be broken or protection exists that will block light from intense mid day sun.
- Part Sun: 3-6 hours direct sun
- Full Sun: 6 plus hours of direct sun
-Size and Spacing– This is so important. You want to make sure shrubs have plenty of space to grow. Properly spaced plants will not be touching and there will be good airflow between them. This will help reduce disease problems. Also, looking at the mature heights will help you determine if the shrub is the right choice for a specific area. For example if it grows tall you may want it towards the back of your landscape bed instead of toward the front where it would block other plants. Also pay extra attention to spacing when planting in front of your home. Planting too close to your home can encourage insects and other critters to crawl along the side of your house.
-Deer Resistance– If you’re in an area where there is deer then definitely consider the deer resistance of the plant you are purchasing. Aside from a tall fence, the only real way to keep deer from eating your plants is by using plants they don’t normally eat.
-Soil– A lot of plants prefer well drained soil (loam) with organic enhancements such as compost. Amending existing soil with compost will usually make a lot of plants happy, but always check just in case the plant thrives in different soil types and pick out a soil amendment specific to the plant if needed.
How to Plant a Shrub (Step By Step Process)
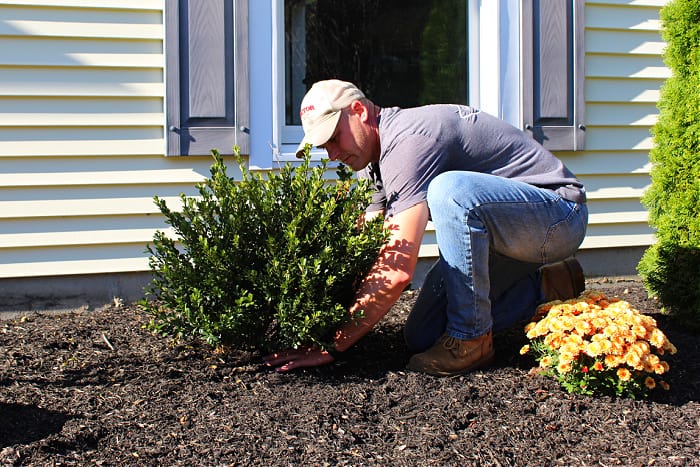
1. Layout
Always place plants where you want to install them before you commit to digging a hole. You want to make sure you are leaving plenty of space between plants, your house, hardscape areas, or other obstructions. Refer to the plant tag to determine how much space you should leave for the shrub as it matures.
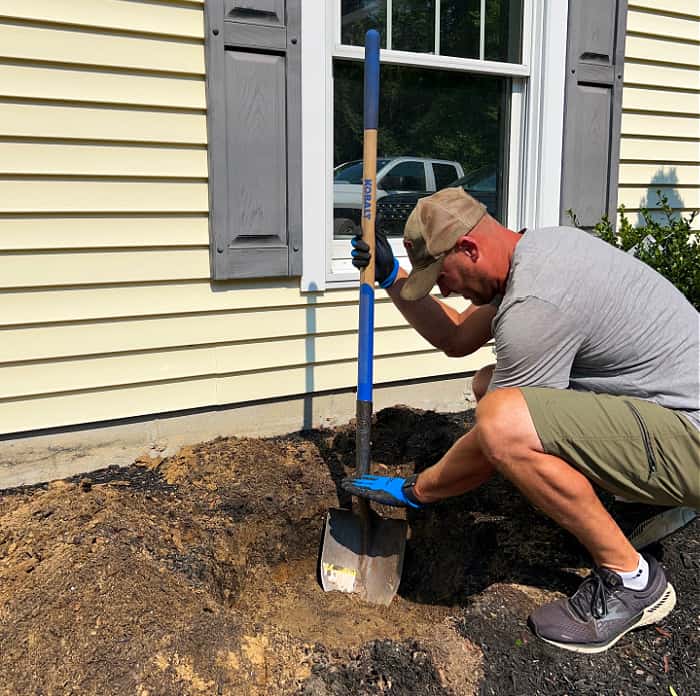
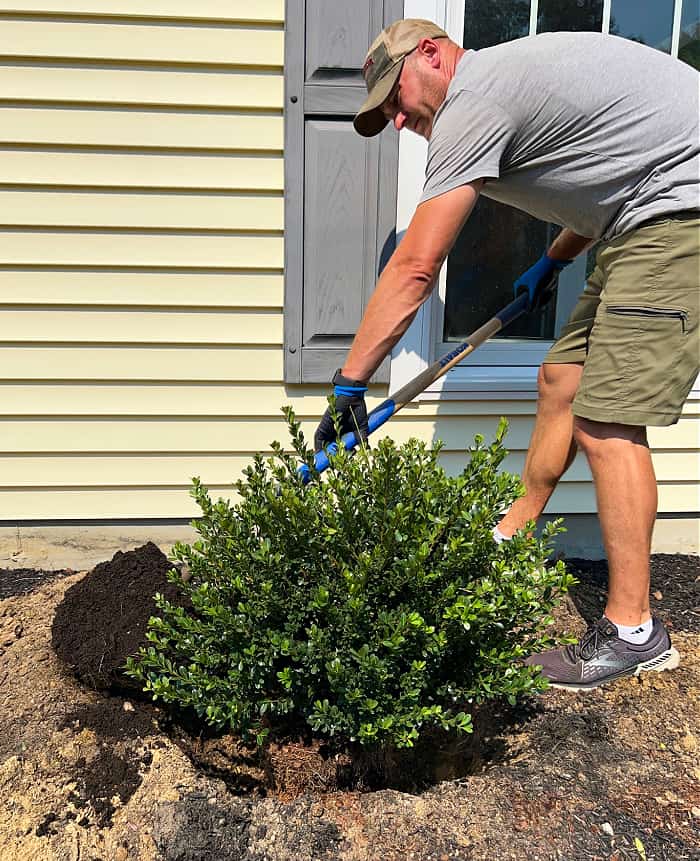
2. Dig Hole
A lot of old timers suggest digging a hole twice as wide as the container, or root ball of the plant, and twice as deep. But studies have shown that roots grow way more horizontal than they do deep so it’s not necessary to dig so deep. While sticking to the twice as wide rule is great for the width of the hole, when it comes to the depth you should reconsider. Instead of twice as deep, it is actually beneficial to dig down a little less than the depth of the container or root ball since you want the shrub to be buried at or slightly below the soil line. A shrub buried too deep can rot the base of the trunk. The only time I’d suggest digging deep is if soil is very clay like and you’re worried about drainage. In this case I would excavate through the bad soil as much as possible and replace the soil with quality loam. Use your shovel as a guide to measure depth and width as shown in the pic below.
3. Pull Out Plant, Check Roots
This is such an important step! This is where most people will simply pull the pot out of the container or burlap sack and put the shrub in the hole. Instead, inspect the roots to see if they are rootbound. A shrub becomes rootbound when they grow in a confined space for too long. Instead of the roots growing out and into the soil they will instead hit the sides of the container and grow around the container on the inside. These roots will continue to circle the pot. Eventually they will crowd out the space so much that soil and water won’t be able to be absorbed and the plant will starve. If you put a root bound plant in the ground chances are it may be too late. The circular pattern of the roots can be too advanced to be corrected by itself. This is where you come in! Un bound the roots either with your hands or with a little garden rake below pic:
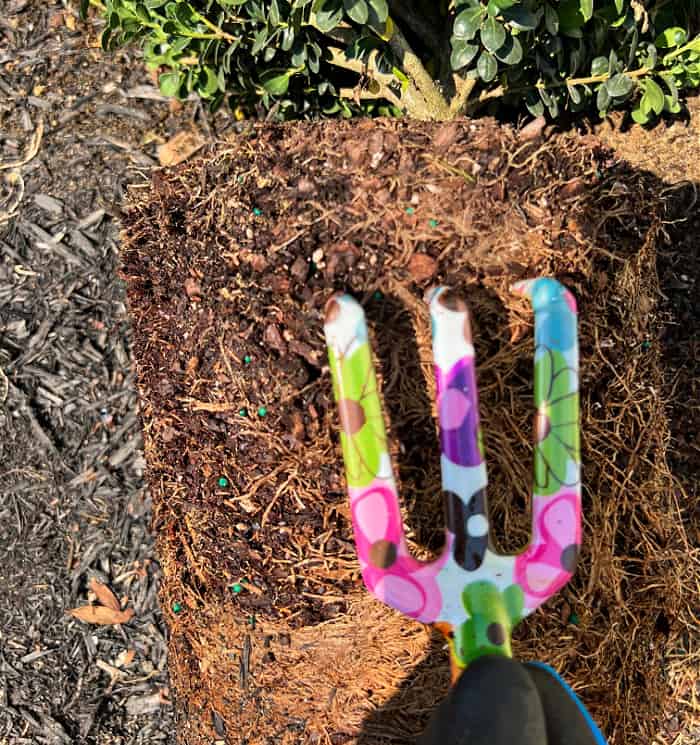
Simply rake or pull on the roots so they get untangled and spread outwards. This will allow them to branch out into the soil where they will thrive and benefit the plant.
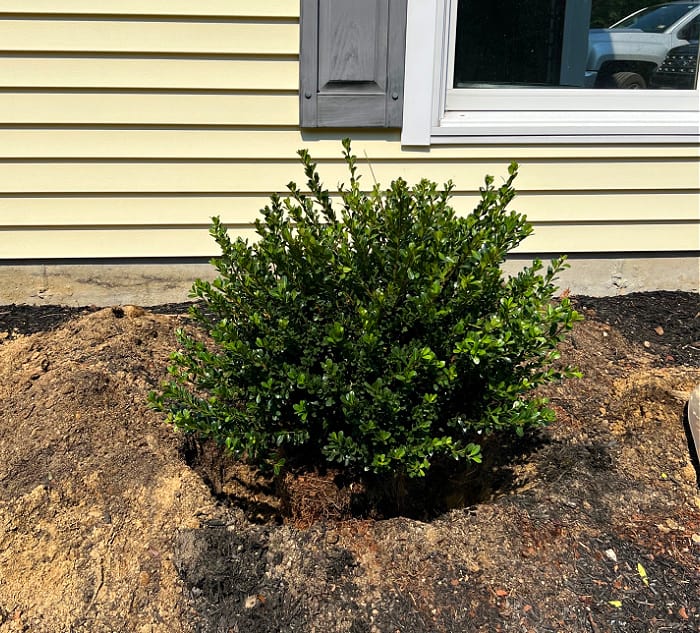
4. Level and Place Plant
Place a little compost on the bottom of the hole and tamp it down to help level the bottom of the hole. Next, place the plant in the hole and make sure your plant is sitting just above level with the ground. Rotate the plant so that the best side is facing in the direction you’d like. Then make sure the shrub is sitting flat, add a little compost or soil as needed underneath the shrub so it isn’t leaning in any direction.
5. Backfill
Before backfilling, place compost or quality soil in the excavated soil and mix it together. This will help amend the existing soil. Using a shovel, place the amended soil in the hole and around the plant. Tamp the soil down with your hands or shove all the way around the plant. Continue mixing compost or quality soil to the excavated soil and continue backfilling, tamping as you go. Once the hole is filled in, add straight compost or quality soil to the top and make the area level. Lastly, I like to create a little raised ring with the compost that goes around the base of the shrub. This will help collect water.
5. Add Bark Mulch
Add quality bark mulch to the area around the shrub. Make sure you are getting bark mulch and not using less quality mulch that contains the actual wood from a tree. When installing bark mulch, make sure it’s not touching the wood of the shrub near the soil line, this could cause the base of the shrub to rot.
6. Water
Immediately after planting, water your shrubs! Take your time and water deeply. I recommend using the shower setting on a good nozzle. Another option is to put your hose on a slow trickle for a long period of time along the base of the plant if you don’t have the time to hand water. Personally, for the first watering I would hand water using the nozzle since it’s important to not only water the actual plant, but also the freshly laid mulch around the plant to cool it down. Plants can get a little heat shock from freshly laid much so cool the area down with plenty of water. Avoid using a sprinkler to water in new shrubs. It won’t provide the direct flow of water that’s really needed to compact the area around the shrub and make sure the roots and the soil are in direct contact.
When to Plant Shrubs
Planting shrubs in the fall is the best. This gives the plant the most amount of time to establish itself before next summer where it will be faced with its most stressful season. If you can’t plant in the fall then early spring is second best. No matter what, make sure you baby your new plants and give them plenty of water, especially during the first summer.
Check Out These Posts Next
How to Get Rid of Japanese Knotweed
Follow Me
Join my free email list!
I found this to be really helpful, I recently decided to plant some shrubs but realized that I ended up having so many random questions along the way, this post addressed (literally) every question that I had. Thank you so much. I can’t wait to check out more of your stuff. Told some friends about your site too.
Thanks so much Rob, a couple of small tips can make a big difference!
I love how you explain about possible rootbounding when taking a new shrub out of the pot to plant. I can see how that would be a problem and I never would have realized it before reading your post. I will be checking the roots for sure from now on! I also love your colorful tools!!! I bet that is your wife’s set. Soooo funny!!!! Every time I check out this blog, I learn more simple ways to make my backyard thrive!!!! Love it. Keep it coming!
Thanks so much Lisa, happy to hear you’re enjoying the blog! Lol, yes I had to steal my small hand rake for this one.
Very good information. I have older boxwoods and they are pale green I don’t usually feed them and don’t know when or what or how much. They are quite large and don’t know it the standard 1/3 is fine for these boxwoods. Thanks for your great information.
You’re welcome Jan! Your boxwoods may benefit from a feeding, also, they could be lighter green due to the fact that it’s winter. Another thing to look into is iron deficiency. A little Iron Tone, as well s Plant Tone might be the perfect combo sprinkled around the base of the plant in early spring.