
There are lots of strong opinions out there regarding the use of landscape fabric, or weed barrier.
Personally, I only install landscape fabric under stone, or other aggregates that don’t break down. I do not install landscape fabric under mulched beds, and I recommend the same for you.
Check out the why here: Should I Use Landscape Fabric? I also discuss the different types of fabric and other uses for it.
For the situations where landscape fabric is useful, I recommend following these steps for installation:
1. Purchase a Quality Landscape Fabric
The truth is, there’s a lot of really bad landscape fabrics out there. It seems like you are always left with a choice: Do you want strength, or increased drainage and air flow?
After experimenting with a lot of products, I have a clear favorite. It’s this fabric from Greenhouse Megastore. I think this product does the best job of combining strength and also drainage and air flow.
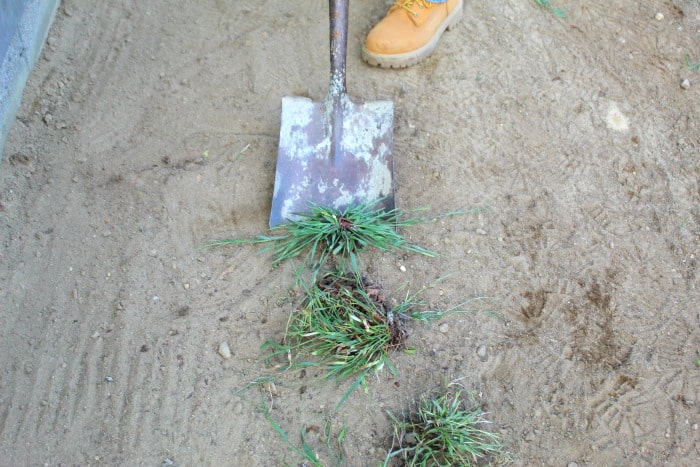
2. Prep the Area
Layout, and prepare the area where you plan on installing the fabric. This means getting a crisp, clean edge and excavating the area depending on how much stone (or other material) you’ll be installing.
In this picture I’m preparing to install a stone drip edge around the perimeter of my house so I’m removing the crabgrass that is currently in its place. I want the stone to be 3” thick so I’ll remove 3” of dirt as well.
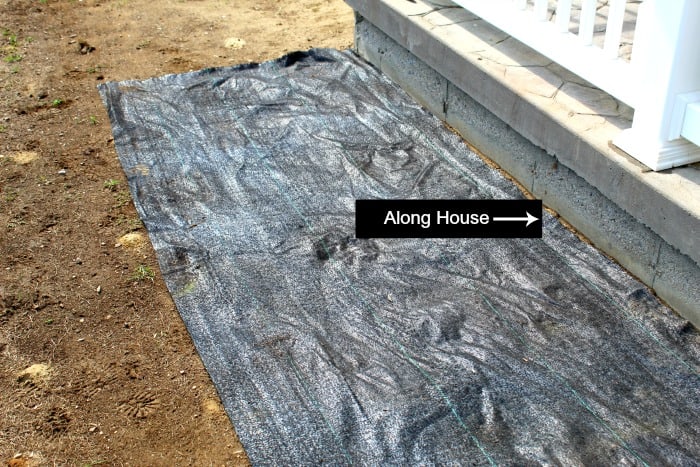
3. Layout the Fabric
For large areas, you will need several rows of landscape fabric. It’s important to start laying out the fabric from the back of your bed, or drip edge, or whatever you’re creating. Starting from the back and moving forward will allow you to overlap your rows correctly.
4. Overlap Next Row
This is why it’s important to start in the back and move toward the front. See how this is being overlapped.
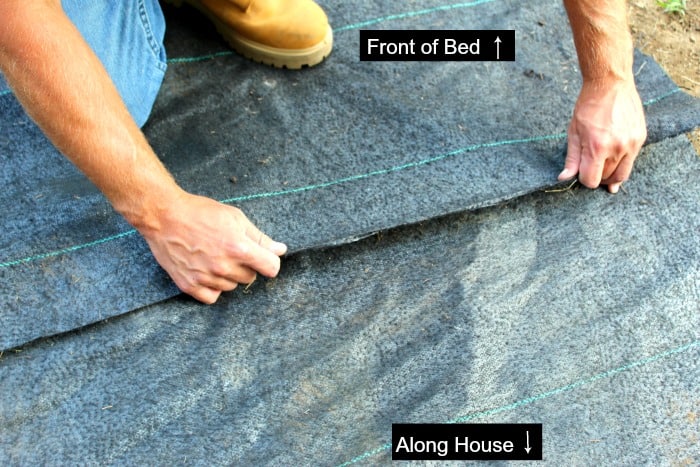
Since I’ll be hauling in stone coming from the front I don’t have to worry as much about stone finding its way underneath the overlapped sections of fabric.
Overlap about 4 inches.
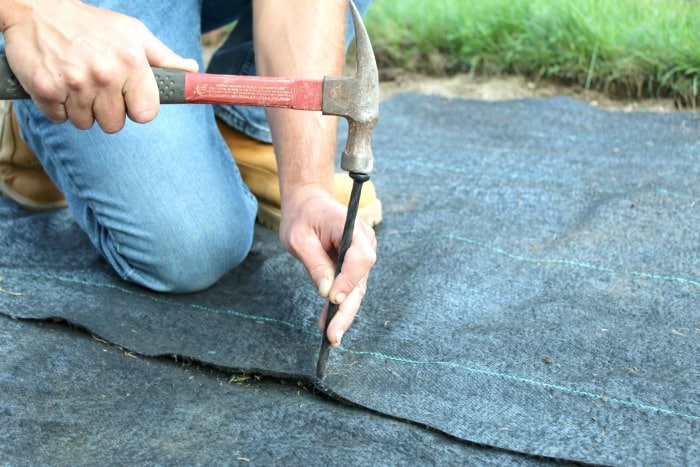
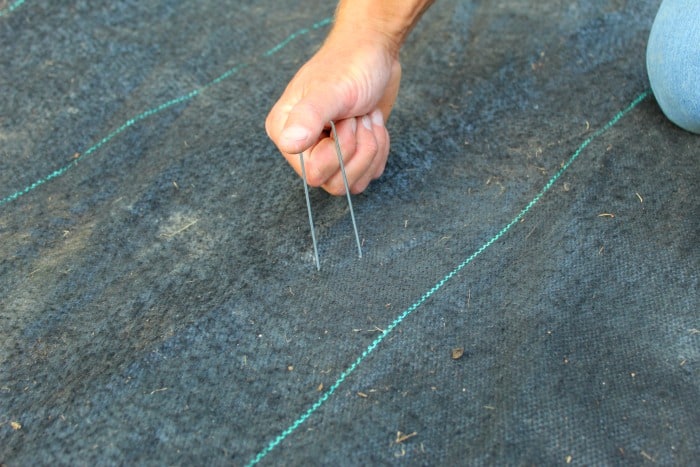
5. Install Staples or Stakes
After each row, pin down the edges every couple of feet. These staples are usually fine if your ground is soft enough. They should go in with just your hand. For harder ground use these stakes and pound in with a hammer.
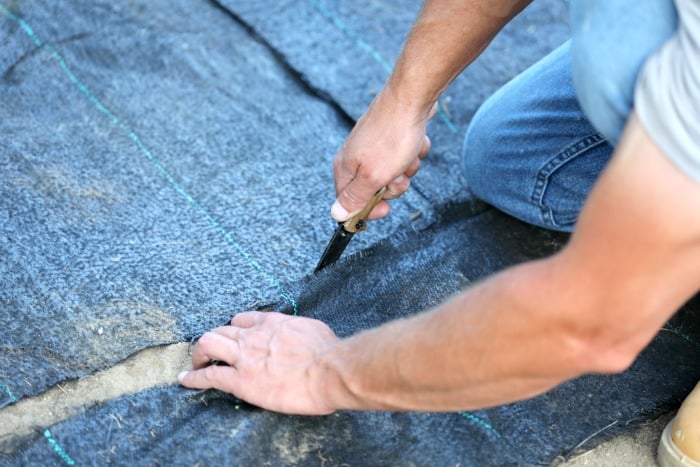
6. Cut Edges
Once all rows are installed and pinned in place, go around and cut the edges where it’s laying over your edge. I prefer to cut a little short. Along the edge is the most likely place you’ll notice the fabric once the material is installed. It’s along the edge where material moves the most, or washes away and is most likely to expose the fabric, so cut the fabric back so it’s away from the edge a bit.
To cut the fabric use a box cutter, or small knife with a sharp blade.
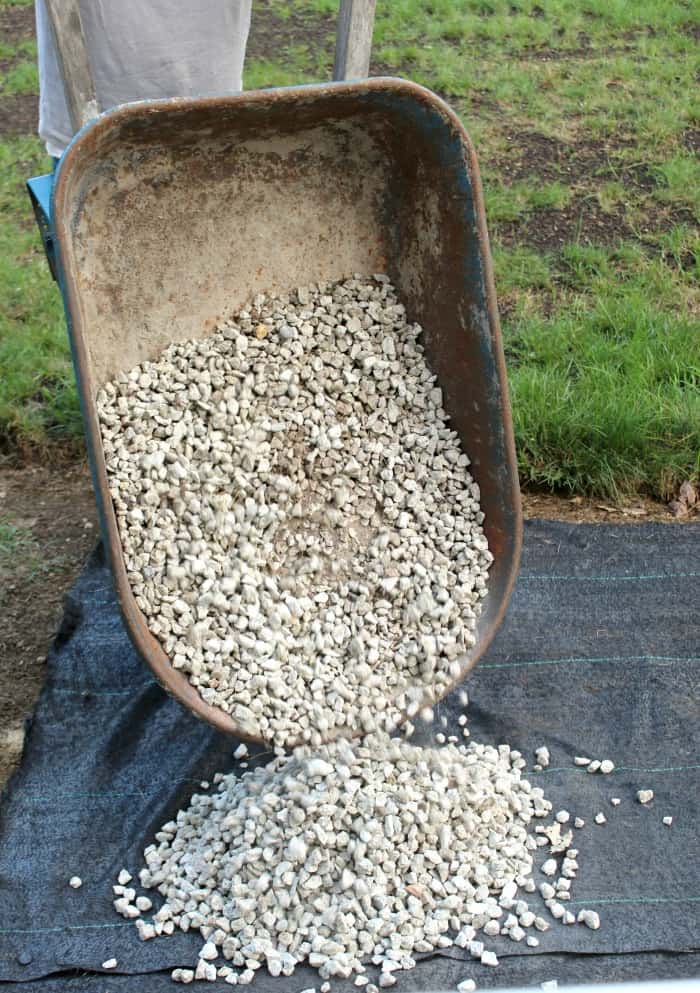
7. Install Stone
It’s time to install stone, or the material of your choice. Be careful during this part. Give some thought when driving over the fabric with a wheelbarrow. You want to be conscious of the direction you’re dumping the material to avoid it from going under the fabric in the overlapped areas.
Check Out These Posts Next
Follow Me
Join my free email list!
Leave a Reply